Welcome. If you are reading this, you have already taken the first and most difficult step: you decided to stop being a passive consumer and start being a creator. In my 50+ years of writing about media and technology, I have seen countless trends come and go, but live streaming is not a trend—it is the future of human connection.
We know the pain. You sit there scrolling through Reels and Shorts for hours, watching others live their dreams while you waste your valuable time. It ends today. At Livestreamingguide, we are here to hold your hand through the technical minefield and lead you toward financial independence through streaming. We don't sell "get rich quick" schemes; we teach hard skills that pay off.
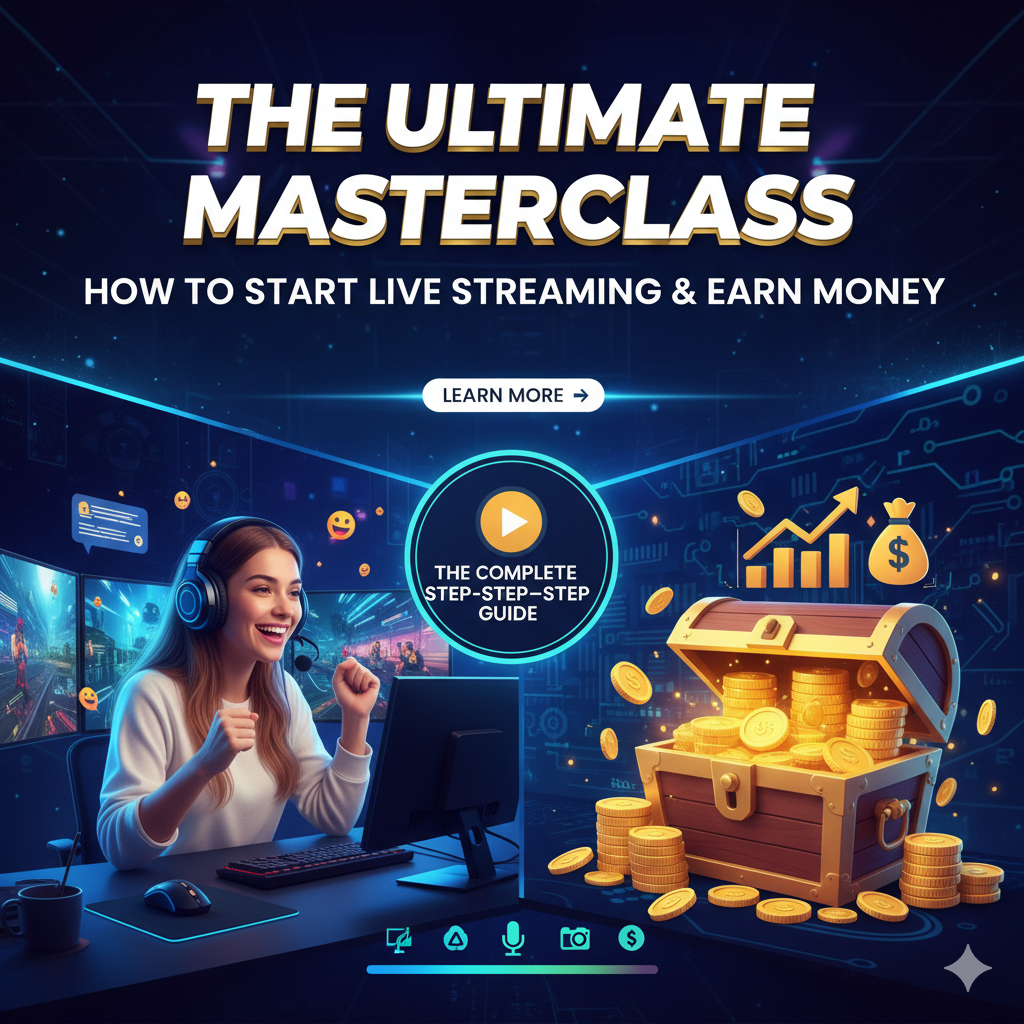
This guide will cover everything from the technical backend of YouTube Studio to professional broadcasting software, and finally, to the specific apps where you can start earning real money immediately.
Part 1: The Foundation – Verifying Your YouTube Channel
Before you can broadcast your voice to the world on YouTube, you must prove you are a real person. YouTube restricts live streaming to verified accounts to prevent spam. This is a safety measure that protects the integrity of the platform.
If you attempt to go live without this step, you will hit a wall. Here is exactly how to resolve it.
Step-by-Step Verification Process
| Step Number | Action Required | Explanation |
| 01 | Access Studio | Click your profile icon and select YouTube Studio. This is your command center. |
| 02 | Navigate Settings | Look for the "Settings" gear icon in the bottom left corner. |
| 03 | Find Features | Click on Channel > Feature Eligibility. |
| 04 | Intermediate Features | Locate "Intermediate Features." If it says "Eligible" but not "Enabled," you must act. |
| 05 | Verify Phone | Click the dropdown and select Verify Phone Number. |
| 06 | Confirmation | Enter your number. You will receive a code. Once entered, you unlock live streaming, custom thumbnails, and videos longer than 15 minutes. |
Important Note: After verification, there may be a 24-hour waiting period before your first stream can go live. Plan accordingly.
Part 2: Going Live (The Built-In Webcam Method)
For many beginners, the simplest way to start is using YouTube’s built-in tools. You do not need expensive equipment; your laptop webcam and a decent mindset are enough.
Setting Up Your Stream
When you click the "Create" button (camera icon) and select Go Live, you are presented with two choices: "Right Now" or "Later." For this guide, we will assume you want to go live immediately using the Built-in Webcam.
Here is the data you need to configure in the setup window:
| Setting Category | Field | What You Need To Do |
| Details | Title | Make it catchy. Example: "My First Stream: Q&A" |
| Details | Description | Explain what the stream is about. Add keywords for SEO. |
| Details | Thumbnail | Crucial: You can only upload one thumbnail for a live stream. Make it high-contrast and readable. |
| Details | Audience | Select if this content is made for kids (usually "No" is the safe bet for general content). |
| Customization | Participant Mode | Choose who can chat. Options: Anyone, Subscribers Only (you can set a duration, e.g., "Subscribed for 10 minutes"), or Members. |
| Customization | Message Delay | specific time (e.g., 60 seconds) between messages to prevent spam. |
| Visibility | Private | Best for testing. Only you can view it. |
| Visibility | Unlisted | Only people with the link can view. Good for private groups. |
| Visibility | Public | The world can see you. Notifications are sent to subscribers. |
The "Go Live" Moment
Once you hit "Next," you will see a preview. This is your final check. Ensure your microphone (like a Rodecaster or even a USB mic) is selected, and your camera is the correct source.
When you click Go Live, take a deep breath. There is a 2-3 second delay. Once the "Live" indicator appears, you are on air. Don't wait; start talking immediately.
The Interface During Streaming:
Part 3: Leveling Up with External Software (Streamyard)
While YouTube’s native tool is functional, it is basic. If you want your stream to look like a TV production with guests, lower-third graphics, and split screens, you need external software. At Livestreamingguide, we highly recommend tools like Streamyard.
Why Use External Software?
Streamyard allows you to stream to multiple destinations simultaneously (Multistreaming). You could be live on your YouTube channel, your Facebook page, and your Twitter profile all at the same time.
Streamyard Setup Guide
| Feature | Description |
| Destinations | Connect multiple accounts (YouTube, Facebook, LinkedIn, Twitch). |
| The Studio | You enter a "backstage" area before going live. Here you check your mic/cam again. |
| The Stage | The central area. You must "Add" yourself to the stream for the audience to see you. |
| Production | Add banners (e.g., "Hit Subscribe!"), logos, and video overlays. |
| Guests | Send a simple link to a friend. When they join, they appear backstage, and you can drag them onto the screen. |
| Layouts | Switch between full-screen, picture-in-picture, or split-screen views with a single click. |
Pro Tip: This software acts as a "Switcher." You are the director of your own show. You control what the audience sees, making the production value skyrocket compared to a simple webcam stream.
Part 4: Post-Production and Editing
We are humans; we make mistakes. Perhaps you coughed for two minutes or leaked private information. YouTube Studio has a built-in Editor for live stream archives.
Part 5: Beyond YouTube – The Fastest Way to Start Earning
While YouTube is excellent for long-term brand building, it takes a long time to monetize. You need 1,000 subscribers and 4,000 watch hours just to apply for monetization.
Stop wasting time. If your goal is to earn money now, you need to be on platforms designed for live streaming monetization. We have identified two specific applications that are changing lives.
We, Livestreamingguide, are an authorized agency for these platforms. We provide full training and support.
The Two Best Apps to Join Today
The app you should use depends on your location. Although the user interfaces are slightly different, the backend connectivity is similar.
| Feature | For Users in India | For International Users (Outside India) |
| App Name | Vone Live | Poppo Live |
| Download & Invite Link | Click Here to Join Vone/Poppo | Click Here to Join Poppo |
| Agency Registration | Create Vone Agency Here | Create Poppo Agency Here |
| Why Join? | Immediate payout potential, highly active Indian userbase. | Global reach, high earning potential from international gifts. |
Why Join Our Agency?
By joining through the links above, you become part of the Livestreamingguide Community.
If you are confused, stuck, or just want to ask a question, do not hesitate. We are real people with real experience.
Contact Livestreamingguide Support
| Platform | Contact Details | Availability |
| WhatsApp Support | +919560730611 | 24/7 Priority Support |
| Website | Livestreamingguide | Daily Guides & Tips |
Conclusion
Live streaming is not just about technology; it is about connection. Whether you choose the path of YouTube for long-form content or the fast-track monetization of Vone and Poppo, the most important thing is to start.
Don't let the technical settings scare you. Use this guide as your manual. If you get stuck, message us on WhatsApp. We are here to help you succeed. Stop watching others live your dream—grab your camera, hit that button, and go live.